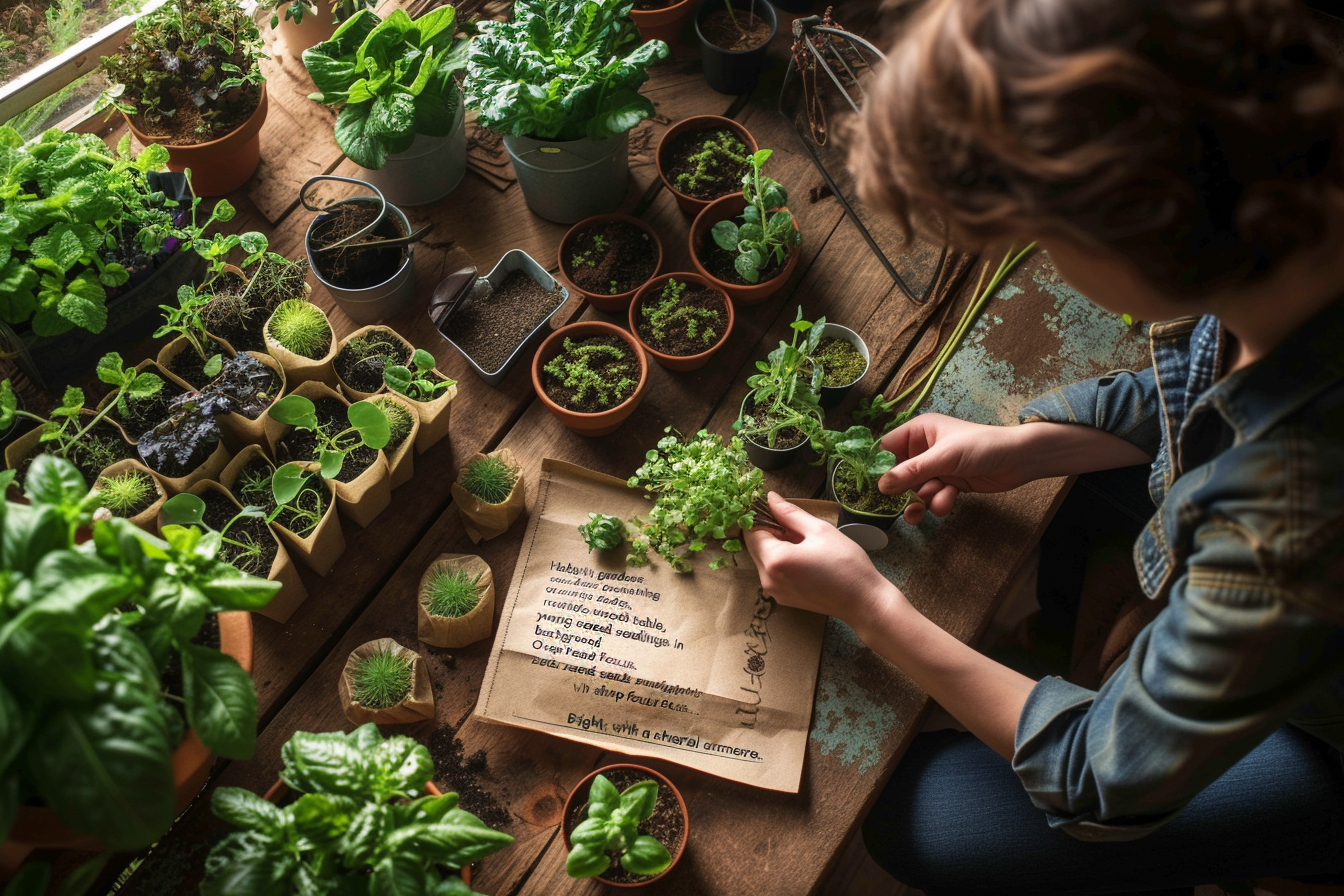
Imagine the satisfaction of adding freshly picked basil to your pasta, rosemary to your roasted potatoes, or cilantro to your salsa. A culinary herb garden is a delightful addition to any food lover’s kitchen or yard. Not only does it provide fresh, flavorful herbs for cooking, but it also brings beauty and fragrance to your living space. Whether you have a spacious backyard or a sunny windowsill, starting a culinary herb garden is a rewarding endeavor for any beginner enthusiast. Let’s go through the essential steps to create a verdant, aromatic, and useful herbal oasis.
Step 1: planning your herb garden
Location and Layout
Choosing the right spot is crucial for your herb garden’s success. Most culinary herbs thrive in full sunlight—which means at least six hours of direct sunlight each day. If you’re limited on outdoor space, a balcony, terrace, or a sunny indoor spot can also serve perfectly. Additionally, consider the layout of your herb garden. Raised beds, containers, or in-ground planting spots each have their advantages and constraints. Decide what fits your space best.
Horticultural Zone and Herb Selection
Being aware of your horticultural zone helps in selecting herbs that will flourish in your climate. Some herbs are perennials in warm climates but must be treated as annuals where winters are harsh. Opt for a mix of easy-to-grow herbs like parsley, chives, mint, oregano, and thyme for your first garden. Not only are they hardy but also versatile in various cuisines.
Step 2: preparing the soil
Quality of Soil
Herbs are like any plants; they require nutrient-rich soil to grow. Most prefer well-draining soil, as waterlogged roots can lead to rot. Whether you’re using containers or planting directly in the ground, consider using a mixture of potting soil and compost to provide your herbs with the best possible start.
Soil pH
The pH level of your soil can also affect herb growth. Testing your soil will allow you to adjust it with soil amendments if necessary. Most culinary herbs grow best in soil with a pH between 6.0 and 7.0.
Step 3: deciding between seeds or seedlings

Starting from Seeds
Starting from seeds offers a broader selection of herb varieties and is more cost-effective. However, it requires patience and more time before you can harvest. Make sure to read the seed packets for specific planting instructions, as some seeds need to be sown at a particular depth or require special treatment to germinate.
Using Seedlings
For quicker results, choose to start with seedlings—small pre-grown plants that can be transplanted directly into your garden. This method allows for an earlier harvest and is less risky for those still getting comfortable with their gardening skills.
Step 4: planting your herbs
Spacing and Depth
When planting, give each herb enough space to spread out and grow. Overcrowding can reduce air circulation, resulting in disease or pest issues. Plant seeds or seedlings at the recommended depth and spacing according to their specific needs.
Grouping by Needs
It’s wise to group herbs with similar water, light, and soil preferences together. For example, Mediterranean herbs such as rosemary, oregano, and thyme prefer drier conditions, while parsley and basil require more moisture.
Step 5: watering and feeding your herbs
Irrigation Strategies
Regular watering is essential for a thriving herb garden, but remember that overwatering can be as detrimental as under-watering. Herbs generally prefer a consistent level of moisture, and the finger-test—sticking your finger into the soil up to the second knuckle to feel for moisture—can help determine when it’s time to water.
Fertilization
Most culinary herbs do not require heavy feeding; in fact, too much fertilizer can reduce their flavor and scent. Diluted organic liquid fertilizers applied sparingly can be beneficial, particularly for potted herbs.
Step 6: maintenance and harvesting
Pruning and Pinching
Pruning is an essential part of maintaining your herb garden. Regularly pinching off the tips of your herbs can encourage bushier growth and prevent legginess. Also, be sure to remove any flowers that form, unless you’re growing the herb for seeds, because flowering can diminish the quality of the leaves.
Harvesting Tips
When harvesting your culinary herbs, take only what you need at the time, cutting cleanly above leaf nodes. This encourages regrowth and leads to a fuller, healthier plant.
Step 7: pests and problems
Natural Pest Control
Pests can be a challenge in any garden. Fortunately, many herbs are naturally repellent to pests. For more persistent problems, relying on organic solutions like neem oil or insecticidal soap is advisable. Inspection is also key—catching an issue early can prevent it from escalating.
Common Diseases
Fungal infections can arise in humid or crowded conditions. Ensure good air circulation among your plants and avoid overhead watering to keep the foliage dry. If a plant does become diseased, remove and discard the affected parts promptly to prevent the disease from spreading.
About the author
Maximizing Benefit Through Learning and Patience
Stepping into herb gardening as a beginner can be a fulfilling journey, one that delights the senses and tickles the taste buds. Much learning happens through patience and trial, but the rewards of picking your own culinary herbs for a meal remain unmatched. As each plant grows and flourishes under your care, so too will your knowledge and appreciation for the art of gardening. The key takeaway for aspiring gardeners is to engage in the process, learn from every leaf and flower, and enjoy the fragrant path to becoming a greener thumb in the culinary world.