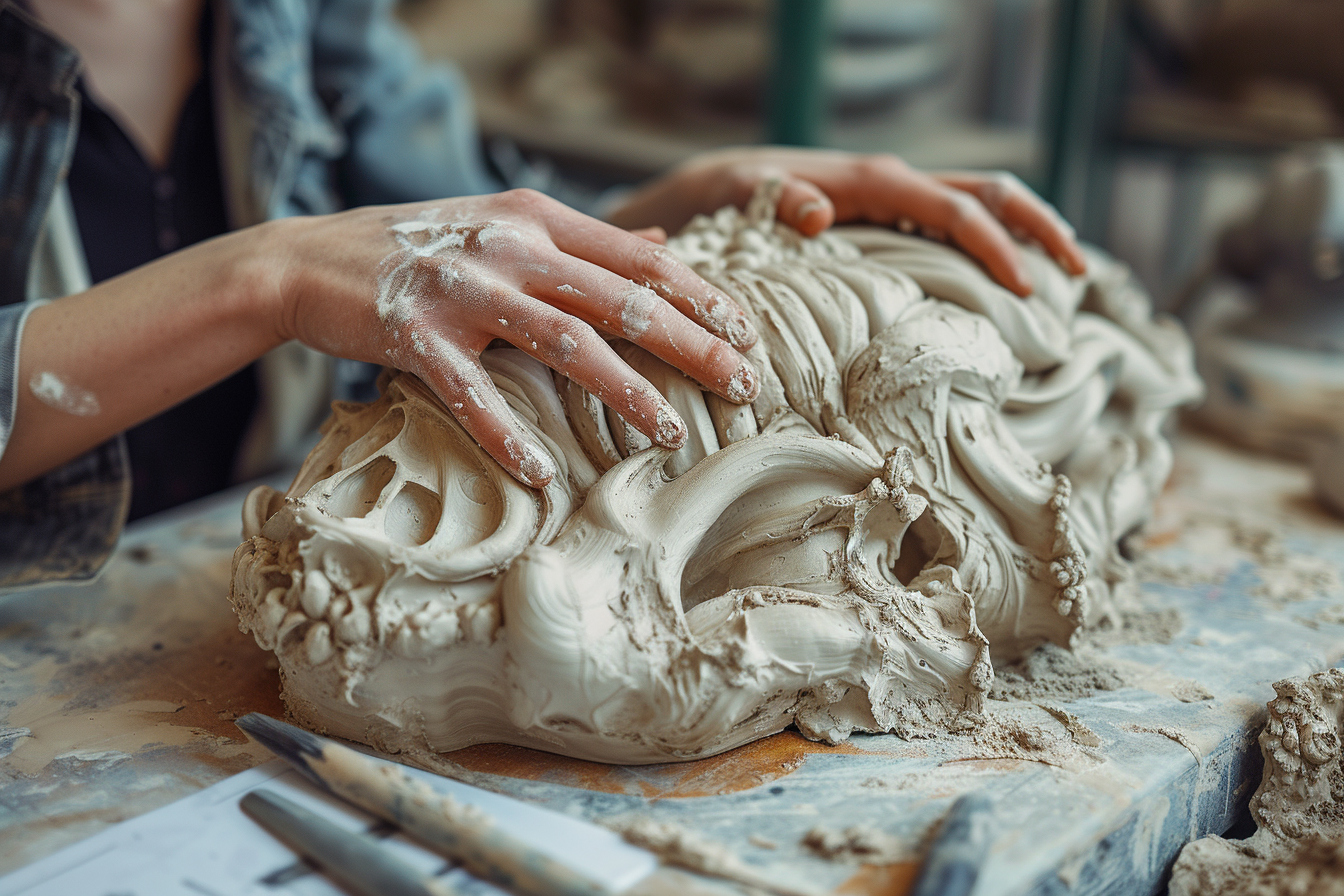
Sculpting with clay is an art form with a rich history, treasured for its versatility and the tactile experience it affords artists. If you’re looking to embark on the journey of transforming your creative ideas into tangible works of art, clay sculpting can be a highly satisfying and therapeutic practice. This tutorial will guide beginners through the essential steps for creating their first clay sculpture. By the end, you’ll be equipped with the knowledge to start shaping your visions into reality.
Choosing the right clay
Before you begin molding your masterpiece, selecting the appropriate type of clay is pivotal. Clay varieties range from earthenware and stoneware to polymer and air-dry clays. Earthenware is perfect for those starting out due to its forgiving nature and low cost. Stoneware is a sturdier option, renowned for its durability after firing. Polymer clay, alternatively, hardens in a home oven and is optimal for small, detailed projects. Air-dry clay doesn’t require a kiln, making it convenient for first-time sculptors who might not have access to such equipment.
Gathering necessary tools
The essence of a sculptor’s craft lies in the tools they employ. At a minimum, you’ll need:
- Clay modeling tools (ribbons, wires, and loop tools)
- Knife and cutting tools
- Rubber-tipped brushes
- Rolling pin or slab roller
- A work surface, ideally a canvas or wooden board
- Water and a spray bottle for moisture control
- Sponges and cloths for smoothing and finishing
Investing in a basic sculpting tool kit is a wise choice; these sets typically include instruments suited for an array of sculpting tasks.
Preparing your space and clay
Whether your workspace is a small table or a sprawling studio, keeping it clean and organized is fundamental. Cover your work surface with canvas or wax paper to protect it and make cleanup easier. Knead your clay thoroughly to eliminate air bubbles, which can cause cracks or explosions during the firing process. This process, called wedging, prepares the clay for use by creating an even consistency.
Building the armature
For larger sculptures, an armature is needed. This internal structure, often made of metal or rigid materials, supports the weight of the clay. Creating an armature can be as simple as forming a wire skeleton or as complex as constructing a detailed wooden frame. The key is to make sure it’s stable and proportionate to the intended size of your sculpture.
Shaping the initial form
The joy of clay sculpting emerges when you begin to mold your initial form. To start, roll, pinch, or coil the clay to create a base shape. Use your hands and tools to manipulate the material, always mindful to maintain an even thickness to avoid weak spots. Reference images or drawings to keep the proportions accurate if you’re creating a representational sculpture.
Adding details to your sculpture

Once the basic shape is established, delve into the finer details. This stage requires a delicate touch and patience. Utilize your loop and ribbon tools to carve out features, and rubber-tipped brushes to smooth the surface. For texturing, try using household items – a toothbrush, comb, or lace can imprint fascinating patterns onto your sculpture.
Continuous moisture management
Throughout the sculpting process, maintaining the right moisture level is critical. The clay should be soft enough to manipulate but not too wet, as this can cause slumping or deformation. Use a spray bottle to mist the sculpture, keeping it malleable. Conversely, if areas need to dry slightly to support additional weight, use a heat gun or hairdryer on a low setting, or simply allow it to air dry slightly.
Hollowing out your sculpture
If your sculpture is solid clay, it’s important to hollow it out to reduce the risk of cracking during drying and firing. Carve out the interior to an even wall thickness of about 1/4 to 1/2 inch. Be sure to keep the removed clay pieces moist if you plan to reattach them or use them later.
Refining the surface
Achieving a smooth or textured finish on your sculpture is an art in itself. Damp sponges, cloths, and fingers can smooth out surfaces, while carving tools can create intricate textures. Patience is indispensable during this phase, as significant changes become more challenging once the clay begins to dry.
Drying and firing
Drying is a slow process that should not be rushed. Place your sculpture in a dry, out-of-the-way area and turn it occasionally for even drying. Once bone-dry, it’s ready for bisque firing in a kiln, which typically reaches temperatures up to 1,800 degrees Fahrenheit. Firing transforms the clay to a permanent state, hardening your work and preparing it for glazing if desired. Be mindful of the specific temperature requirements of your clay type.
Final thoughts and analysis
Sculpting with clay is a meditative and rewarding discipline that encourages artistic growth and experimentation. This step-by-step guide serves as a road map to help beginners navigate the complexities of creating a clay sculpture, from initial preparation to the final stages of drying and firing. Attention to detail, careful observation, and a steady hand are invaluable to sculptors, as is the willingness to learn from each piece created. Mastery over clay is a continuous process – one that flourishes with practice, persistence, and passion.