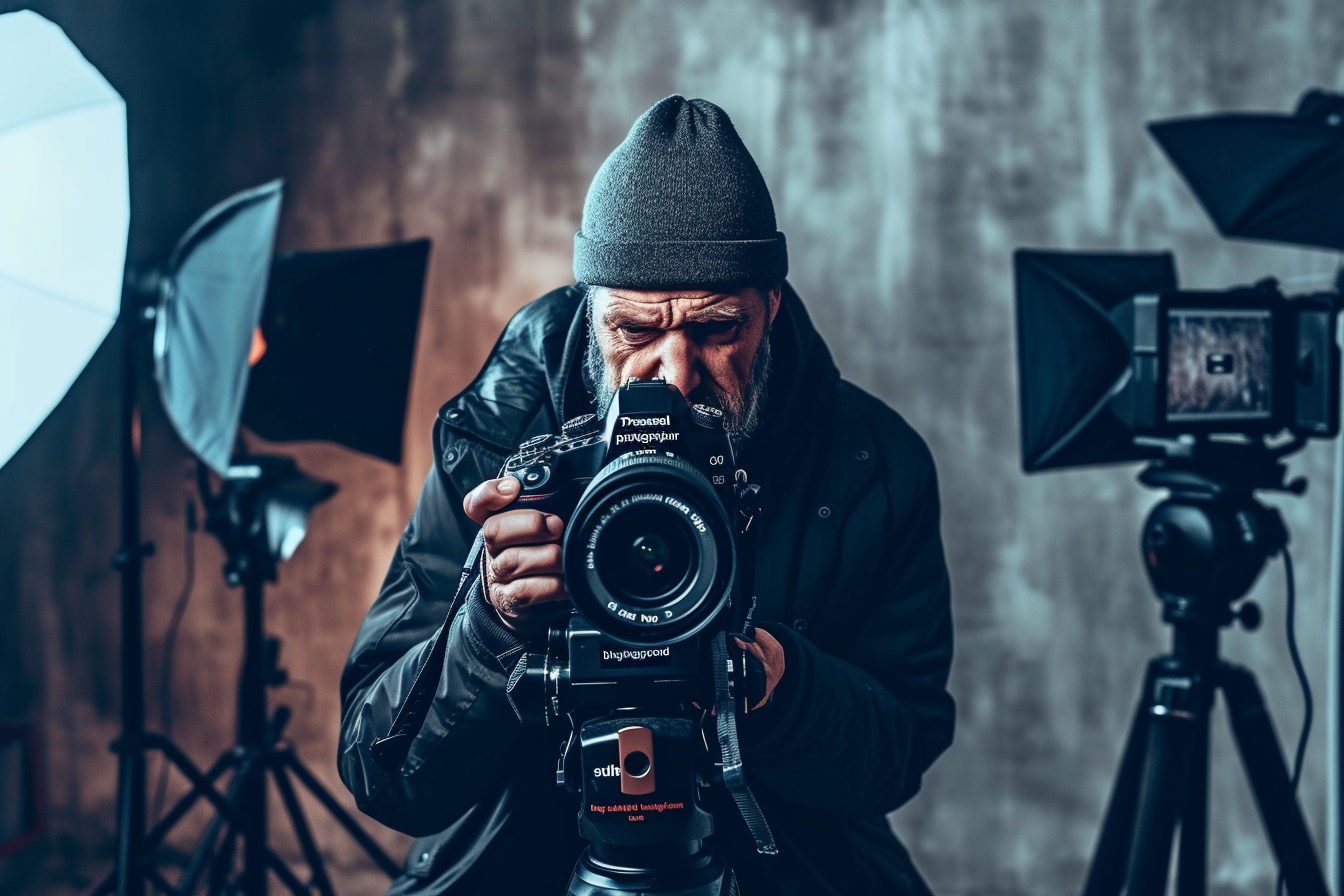
Studio portrait photography offers the perfect blend of art and technique, creating compelling representations of subjects within the controlled environment of a studio. Mastery here is not simply about capturing an image; it’s about forging a connection between the subject and the observer. This article delves into essential tips that refine the art of studio portrait photography, from lighting setups to post-processing techniques, ensuring that every shot is a captivating exploration of your subject’s persona.
Understanding light: the foundation of studio photography
Lighting is the cornerstone of all photography, but in the studio, it carries an even greater significance. Commanding the subtleties of shadows and highlights determines the mood and depth of your portrait. Opt for a basic three-point lighting setup — the main light, fill light, and backlight — to start with a classic, balanced look. Experiment with the positioning and intensity of these lights to sculpt the subject’s features and set the desired tone.
Continuously modify the characteristics of the studio light through diffusers and reflectors. Soft boxes produce a gentle diffusion, perfect for smoothing skin tones and creating a flattering, even light. Meanwhile, harnessing a snoot or a grid can help you direct a focused beam for dramatic effect, adding intensity to a portrait.
The art of composition: framing your subject
The composition is more than the mere placement of the subject within the frame; it’s an artistic choice that can narrate a story. The rule of thirds is a reliable companion in your compositional repertoire, prompting you to intersect key features of your subject at dynamic points. Negative space, when used effectively, speaks volumes, offering an insight into the subject’s surroundings or, conversely, focusing the observer’s attention directly on the person.
Remember to pay close attention to the eyes, as they are often considered the windows to the soul. Whether through a direct gaze or a thoughtful look away, the eyes can convey power and emotion that resonates with the viewer.
Selecting the right equipment: more than just a camera and lens
Elevate your portraits from good to great with a well-thought choice of camera and lens. A full-frame DSLR or mirrorless camera provides the desired detail and depth of field control, crucial for studio work. Pair it with a prime lens in the 85mm to 105mm range for an ideal compression and bokeh effect.
Tripods and remote triggers become crucial when seeking precision and stability in your shots. The use of a tripod can alleviate camera shake, leading to sharper images, while a remote allows for seamless interaction with the subject without the barrier of the camera being a constant presence.
Posing techniques: bringing out the character
Engage with your subject and guide them through poses that feel natural and expressive. Direct them towards poses that complement their body type, highlight their best features, and reflect their personality. Subtle adjustments, such as shifting weight to the back foot, can dramatically alter the grace and perceived comfort in an image. Incorporate props to add context and a sense of story to the portrait, but ensure they don’t detract from the main focus — the subject.
Facial expressions: capturing authentic emotions
Foster a relaxed atmosphere within the studio to encourage genuine expressions. Engage in conversation, listen actively, and provide assurance to help subjects drop their guard and reveal their true selves. The nuance of a genuine smile or the intensity of a contemplative frown can elevate a portrait from a simple photo to a profound visual experience.
The importance of background selection
The choice of background can bolster or break the impact of your portrait. Use neutral tones to keep the focus on the subject or deploy bold colors to complement skin tones and attire for a more impactful image. Seamless paper backgrounds or muslin drops are staples in a studio setting, offering a wide range of colors and finishes to suit the desired effect.
Post-Processing: the finishing touch
Image editing is the final but critical phase in studio portrait photography. Your goal in post-processing is to enhance, not overpower. Adjust exposure, contrast, and color balance to refine the image. Soften the skin with care, always preserving the natural texture. Dodging and burning can be implemented to further define features and give the portrait depth.
Retain the integrity of the image and avoid heavy-handed alterations that can make the subject unrecognizable. Use tools like frequency separation sparingly. Aim for a polished look that feels both professional and profound.
Constant learning: evolving your craft
Crafting the perfect portrait is a perpetual journey of learning and refinement. Constantly analyze your work, seeking new ways to improve. Attend workshops to hone your skills, browse galleries to find inspiration, and collaborate with others to expand your creative horizons.
Through practice, experimentation, and patience, your competence in studio portrait photography will flourish. With each session, aim to refine your style, perfect your technique, and produce portraits that not only showcase physical features but also encapsulate the essence of the subject, leaving a lasting impression on every observer.
In creating captivating shots, the role of studio portrait photography extends beyond the technical; it’s an embrace of all facets that make a photo truly exceptional. From the intricate dance with lights and shadows to the subtle details in post-processing, your journey in portrait photography promises a fulfilling quest for the art within the image.